Monday, October 24, 2011

Halloween Makeup Tutorial: The Creepy Doll


Here is a look I came up with for a Creepy Doll effect. I did cheat for the photos and used a photo app on my iPhone to make the google eyes! But the makeup technique for the eyes will give you a big eye effect, and when it comes to the lashes, use as many as you like to get the look you want.


Saturday, October 22, 2011

Shoes Essentials

Believe it or not, there was a time when you only need a few types of shoes in your closet: dress shoes in brown and black and casual shoes, usually a tennis shoe.

Well times have changed, and now there are a variety of shoes to choose from and a wide range of places we can wear them. But it still boils down to the essentials. What do you need? Well this list is just that. The shoes every woman needs to have in her closet.


1. The Basic Black Pump: Black pumps can go with just about anything, but most important, you need them to wear to the occasions where a more "flashy" shoe is inappropriate. Example: you don't want to wear a bright red shoe to court or a funeral. They do not need to be super high. Just get a pump you are comfortable with. They are easy to mix into your wardrobe and always add a touch of class.


2. The Nude Pump: Nude Pumps have become the New Black. Nude will go with anything and have the effect of making your leg look longer and leaner. These shoes will work in your wardrobe where the black pump won't.


3. Flats: Flats come in a huge variety of styles and colors and can make an outfit pop. They are great everyday shoes where a high heel just won't work. If you are going for a more polished casual look you will want to get some flats in your wardrobe.


4. The Metallic Heel: There are some occasions where a basic black or nude just won't give you the za-za-zu you want in an outfit. This is where the Metallic heel comes in. They are very sexy and sophisticated.


5. The Sneaker: Depending on if you work out, need them for work or just because you like them. The choice is yours.


6. Boots: It doesn't really matter what kind of heel, or if you want a booties or a knee boot. Boots are just an essential for fall and winter. The types of boots you need depends on your body type and what you are comfortable with. But you need at least one pair.


7. House Shoes: You need house shoes because, well, they are just comfortable.


Again there are millions of shoe styles out there to choose from, and I encourage you to try them. This list is a good place to start on your shoe wardrobe to give you the right shoe for the right occasion.


And Always
Stay Fabulous

Thursday, October 20, 2011

Comfy Style

Okay, so the temperature here in Tennessee has dropped to 45 degrees, and I am freezing. During the day I wear tights or leggings and layers to stay warm and still look stylish. But what is a girl to do at home wanting to be comfy and cozy?


Well let me tell you, she buys a pair of FOOTIE PAJAMAS! That's right, the footie pajama from your childhood is all grown up and should be a welcome addition to your fall/winter nighttime wardrobe.

For one, you stay warm without having to turn up the heat and increasing your electric bill. Secondly, they are just plain adorable!

So keep warm on these cold nights and get yourself some warm, comfy, cozy footie pajamas!

And Always
Stay Fabulous

Halloween/Makeup Tutorial: The Vampire


Here is another look that I love to do. It a vampire look that is my variation from one of my favorite Makeup Artists, Michelle Phan. Enjoy, and Happy Halloween!


And Always
Stay Fabulous

Sunday, October 16, 2011

Halloween and Style Tip: Nail Wraps (UPDATED)

One of the hottest trends right now is Nail Art. It is making a comeback in a big way. There is one problem: the price. Keeping up a manicure with Nail Art can be expensive. Not to mention some of the looks are not something you would want to wear on a daily basis.
Black Lace For Halloween

But it's fun to play around for a special occasion or just going out for some fun, and Halloween is the perfect time to try something new.

I want to share with you Nail Wraps. There are several brands on the market right now and they are pretty inexpensive. I used Sally Hansen Salon Effects, which is around $10.00 at any drug store. The reason I chose that brand is because it came with almost everything I needed.

They are actually a lot easier to put on than you think, and they are supposed to last for up to 10 days. But they can be removed at any time with nail polish remover.


The wraps came with sixteen nail polish strips, cuticle stick, mini file and buffer, as well as detailed instructions.


You will also need a clear top coat and nail polish remover. For natural nails use the regular formula with acetone. If you have acrylic nails use the non-acetone.


Let's get started. I will give you the Sally Hansen instructions on how to apply the wraps.


Start with clean, dry nails. Use the nail polish remover to clean the nail.


Use the wooden cuticle stick to push back the cuticles. Tip: If you have rough cuticles use a cuticle oil or even olive oil to soften.


Shape the free edge of the nail with the hot pink side of the file. Use the file in one direction to prevent the nail from fraying or cracking.


Use the white side of the file to buff the nails.


After you have prepped your nails, give them one last swipe with the nail polish remover to remove any excess dirt and oil. This will ensure there is no residue left behind Tip: this step is extremely important as it helps your manicure last longer.


Select the best fitting strip for each nail. I like to lay them out so I don't forget which wrap goes with what nail.


Remove the clear protective plastic cover and peel the nail polish strip from the backing paper. Break the silver tab from the strip and choose the side of the strip that best fits the shape of your cuticles. Place the strip against the cuticle line. For best control hold the strip near the center.


Press strip to nail and gently stretch strip for a perfect fit. Do not over stretch. It could distort the look of the pattern.


Gently run the flat side of the cuticle stick along the edge of strip to firmly bond strip to nail. You can also use the stick to trim the strip were needed.


Smooth excess over nail edge, forming a crease around the edge of the nail.


Gently file away excess from nail edge using light pink side of file.


Use the clear top coat to cover the strip making sure to run the brush on the nail edge to seal the strip to the nail. And then repeat ten times.


Here is the completed look. It looks amazing with a statement ring to make everything pop.


I also did it in a new trend going around where you have one nail different from the rest. It is unique without being over the top.


I am going to leave you with one more tip. If you go through the trouble of having your nails done, do yourself a favor and get rubber gloves for cleaning house and doing dishes. It will make your manicure last longer. Have fun with this on Halloween.

And Always,
Stay Fabulous

UPDATE!

It has been a week since I applied the nail wraps and posted to the blog about them. In that week I gave them a test drive including doing dishes everyday to see how they would hold up.

And let me tell you, they are awesome. I did apply a clear top coat every day to keep them shiny and to add a little extra protection. But other than that, the wraps held up very well on their own.

As you know, under all nail polishes or art, your nail will continue to grow and start to look a little "off". So I decided to remove them and start over. The wraps are so good they are a little hard to get off, so I am going to show you how.


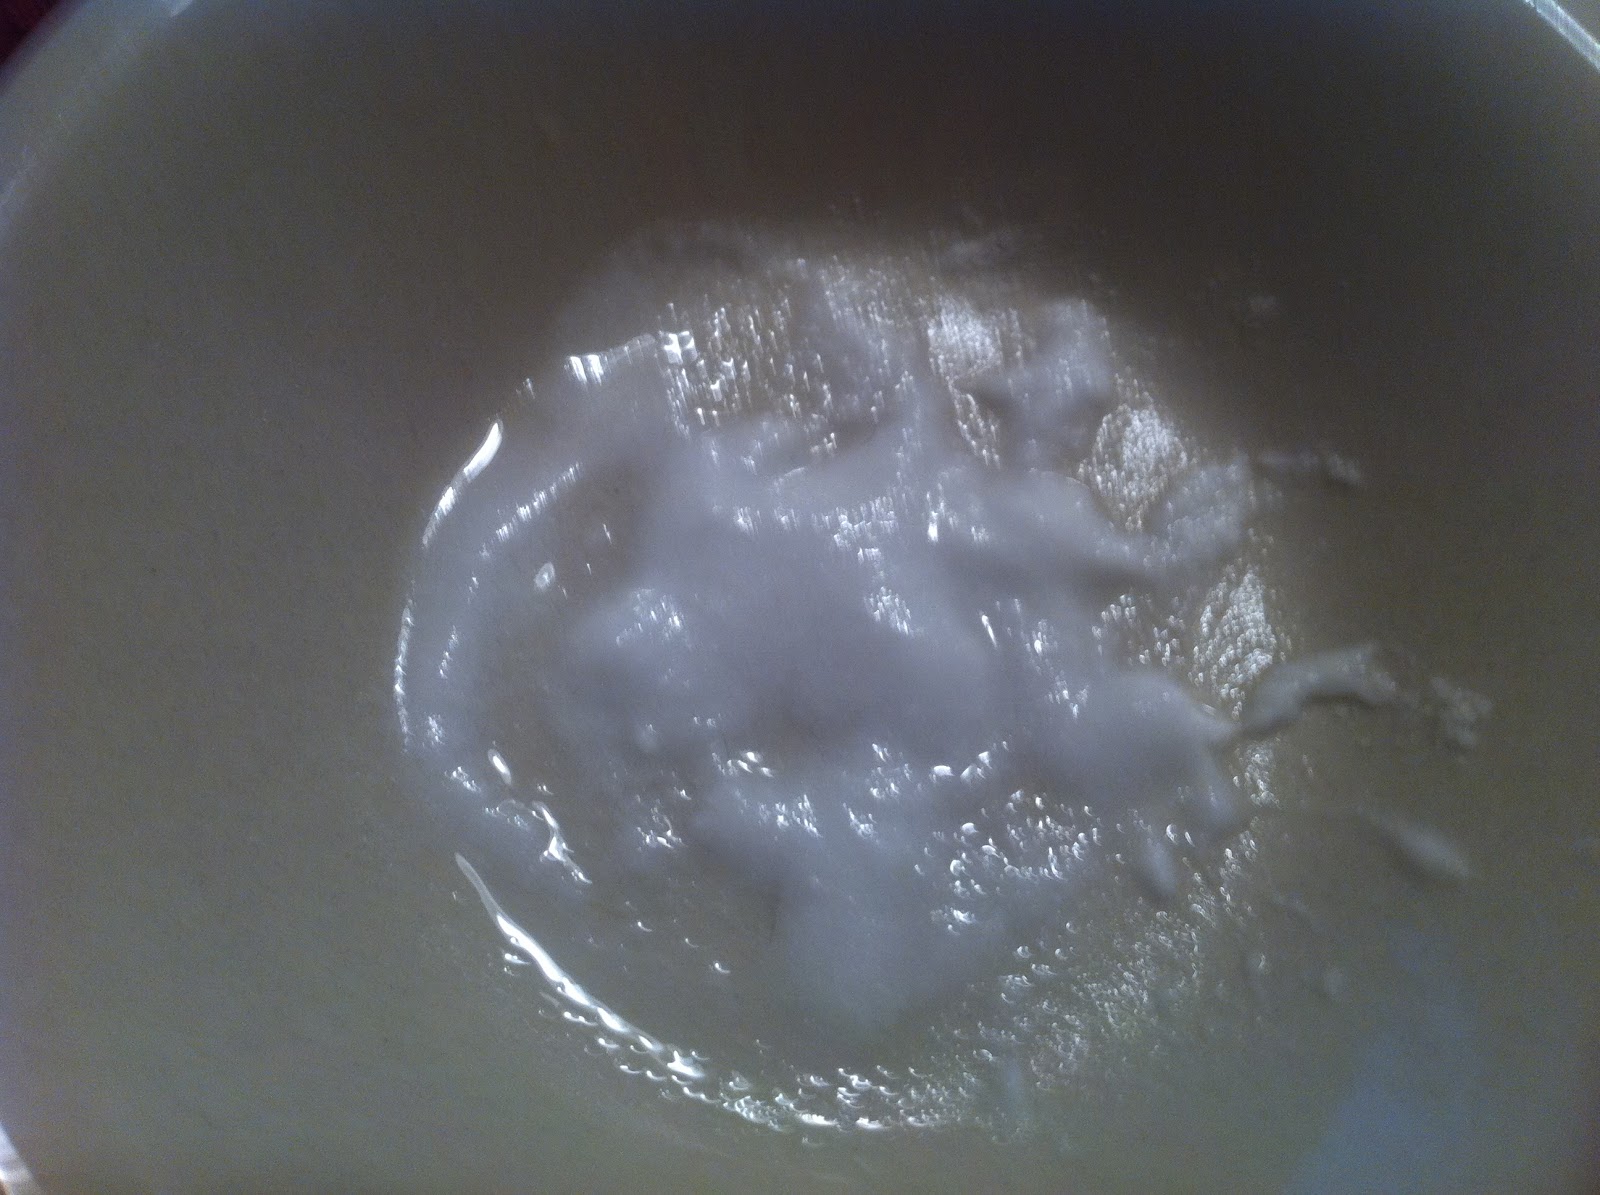
What you will need is nail polish remover, a small bowl, and an old washcloth. Remember, if you have acrylic nails use the non acetone. I also like using an old washcloth to remove nail polish because it scrubs the polish off easier.


Pour a little of the polish remover into the bowl. You don't need a lot, just enough to cover the nails. Then dip the tips of your fingers in and soak. Because of the thickness of the wraps, it will take a minute or two.


Start to scrub the nail with the washcloth.


You will see the wrap slowly start to come off.


You will need to soak the finger tips a couple of times and then wipe. Repeat this process until the nail is clean.


So after trying out nail wraps I have to say I love them. I have never been one to paint my nails, but these are amazing, and I will be using them again. I can't wait to try other styles. Have fun with these this Halloween and every other day of the year!

And Always
Stay Fabulous


Wednesday, October 12, 2011

Halloween: The Black Widow


Well here is another look for the Halloween season. It is The Black Widow, created by Mr. Derek Smithpeters who is an amazing makeup artist.


Recently, Derek and I got together to make this tutorial video. He is amazing and can transform a face into any character. Derek's work has been seen onstage throughout the Tri-Cities' area.

The Joker
Zombie


Not only is he a fabulous makeup artist, he is an actor and costumer. I have had the pleasure to be onstage with him many times and have always admired his work.

Mad Eye Moody
The Mad Hatter


Derek works for Celebrate Studios in Johnson City, TN as a makeup artist, and also does freelance work through his Facebook Page, Makeup Madness with Derek Smithpeters.
(Click on the links to find more information.)

I have created a video on how Derek creates this look with just make up. I hope you like it, because it is the first I have ever made, and I hate how I sound on video. If anything, I hope it gives you a good chuckle.


With this look you can go bigger by using spiders on your face or gluing stones onto the web. Don't forget to use statement jewelry to make everything pop with your costume.

Have fun this Halloween,

And Always,
Stay Fabulous

Wednesday, October 5, 2011

Does Quality Cost?

I came across an article the other day on Yahoo about how the editor of The Gloss purchased a pair of Christian Louboutin boots for $895 and they fell apart on her in the first thirty minutes of wearing them.

Apparently the the zipper busted, the leather and plastic tip on the heel came off, and there were worn patches on the upper part of the boot.

Now I have to ask myself, "What in the world did she do to ruin a pair of shoes in thirty minutes? Was she rock climbing?  Running a marathon? Was she throwing elbows in a mosh pit?" Who knows?

The Coach my husband bought me.
But it does cause one to think. Does quality really cost? Should you plop hundreds of dollars for a name brand? My husband generously purchased Coach handbags for my best girlfriend and myself. I loved my bag and used it for a full fall/winter season. And I admit that when spring came, it was a little worse for wear. The leather on the straps started to crack and the lining ripped.

Maybe I was too hard on it.  I am the type when I find something I just love, I have the tendency to wear it out! But my friend's bag lasted a little more than a month when the straps broke.

The Coach my friend got me.
A few months later my bestie surprised me with another Coach she got for a steal on consignment and it has held up beautifully. So it is the brand or the brand lover?

Don't get me wrong, I love designer brands. I would love to be able to afford off-the-rack designer brands. But I am a fashion lover on a budget. So I guess the real question you have to ask yourself is,"Is it worth the price?"

For example, sunglasses. I never buy expensive sunglasses. Why, you ask? Well, when I was in high school I saved my money to buy a pair of Oaklelys (It was the 90's, don't judge me!).  I was so proud to shell out one hundred of my hard earned dollars for a pair. Silver rims with blue lenses. I was cool for about one month, and then I lost them in the mall on a school trip!

From that moment I swore off expensive sunglasses, because I know I will just break or lose them!  I guess what I am trying to say is if you are a lover of designer fashion and have expensive tastes, try consignment shops, and go vintage. Stick with a budget.

And if designer brands are not available to you, pick the pieces you like and look for something similar you can afford. Fashion trends are also easy to duplicate with out breaking the bank. You just have to be creative.

So when you find that to-die-for item you can't live without, stop and think. Is it worth it?

Breast Cancer Awareness Month

October is Breast Cancer Awareness Month. So this month show your support by wearing Pink! Add a pink handbag, jewelry, or just a simple pink ribbon to show your support for those who have fought, or are fighting the battle with Breast Cancer.

You can also find fun things to buy where the proceeds go to Susan G. Komen for the cure, or just give a donation.

Remember think pink, and get yourself checked!

And Always,
Stay Fabulous

Monday, October 3, 2011

Style Tip: Grandmas Have Style

My MawMaw and PawPaw
My grandmother Mary started teaching me at a young age about style, beauty, and the importance of being a lady. I know some younger girls are rolling their eyes, but the lessons I learned have lasted with me.

I was cleaning out my purse and I couldn't help but laugh at what I found, because it reminds me of her. Safety Pins! My grandmother always had safety pins on her at all times. I remember asking her why, and she would respond, "Because you never know when you will need one."

I'm the Bald one!
And it is true, you never know. I have had a button break or a seam rip, and I will have my trusty safety pin to save the day 'til I get home. I always carry at least one with me at all times.

So listen to your grandmothers when they give advice. You might find that it becomes very useful, because you just never know!

And Always,
Stay Fabulous

Saturday, October 1, 2011

Zits Be Gone!

It is time to discuss an issue that affects us all: the dreaded pimple, zit, blemish, and occasional Mt. Saint Helens that erupts on your face, making your life a living nightmare. Zits are the worst and seem to pop up at the most inconvenient times. But never fear! You can fight back and win!

I am going to show you the Aspirin Mask, a quick and easy way to fight blemishes. It is also inexpensive, because it has just a few ingredients that are probably already in your home .

What you will need is Aspirin, water, and honey. You can use either non coated tablets or powdered form like BC or Goody's. I prefer the powdered form because it takes less time to dissolve.

Now I know you are asking yourself, "Why Aspirin?". Well, the main ingredient of Aspirin (Acetylsalicylic Acid) is Salicylic Acid, which is the main ingredient in most expensive acne medications. (I feel so smart knowing this!)

Now time for the WARNING. This isn't something you do every day! Start out once a week for like a month if you have large breakouts and then do once a month. You can also use it as a night time spot treatment.

Also.. If you are not allowed to take Aspirin or have an allergy, do not do this.

Alright, now that is out of the way, let's get started.


Take one packet of the powdered Aspirin and empty it into a little dish. If you use the tablet form, just use one. Both will give the same results.


Put a quarter teaspoon of water in the powder. If you are using a tablet, use a full teaspoon of water.


With clean fingers, mix up the Aspirin and water. It should look like this.


Add a heaping dollop of honey to the mixture. The honey is good for the skin, and it also helps the mask stick to the face.


Again, use your fingers to work the honey into the mixture. It will look like this.


Now scrub the mask onto your face. Be sure you avoid the eye area, it will burn.


Leave on for 15 minutes. Your skin will start to tingle! That is a good thing, it means it is working.


When time is up, scrub off with a clean washcloth and warm water. Scrub hard to get all the sticky mask off your face. Dry your face with a clean towel.


Finish off with your favorite moisturizer. Your face will feel tingly and refreshed. And yes, I am wearing my Mickey Mouse footie pajamas! It's cold outside.

I hope you like this mask. It is one of my favorites.

And Always
Stay Fabulous